
Decide what the outing needs, then pick the smallest comfortable bag that holds it and keeps the changing kit within easy reach. For routine errands, a modest diaper bag or an ordinary backpack or tote is enough. Longer trips, bottle feeding and your baby’s individual needs call for more room. Follow CDC milk-storage rules and keep bags off stroller handles. Lay out the kit for your next trip and test it in the bag before you buy.
Decide what your next outing requires
What belongs in a diaper bag changes with the trip. A quick errand, a pediatric appointment and an afternoon across town each need different things, even with the same baby.
Start with four questions: how long you’ll be away, how you’re getting there, how your baby will eat, and where you can get more supplies. A car trip to a relative’s home often keeps spare clothes within reach. Transit means carrying everything through stations, sidewalks and stairs. For baby travel, car seat and packing planning, review Traveling With a Baby: What to Plan, Pack, and Check.
Keep one basic changing kit ready and add supplies to fit the trip. Always include spare clothes, even for a short outing.
| Outing | Packing approach | What changes |
|---|---|---|
| Short neighborhood errand | Compact changing kit and spare clothes | Fewer extras, since backup is nearby |
| Longer visit or unpredictable afternoon | Changing kit, clean spare clothes and feeding items | More room for everything you’ll need before you’re home |
| Walking or public transit | Kit within reach in a comfortable wearable bag | Carrying comfort matters, and replacements are far away |
| Car trip to family or friends | Changing kit plus spare clothes | Check what’s available at the destination and how supplies are stored |
Pack the changing essentials and one useful backup
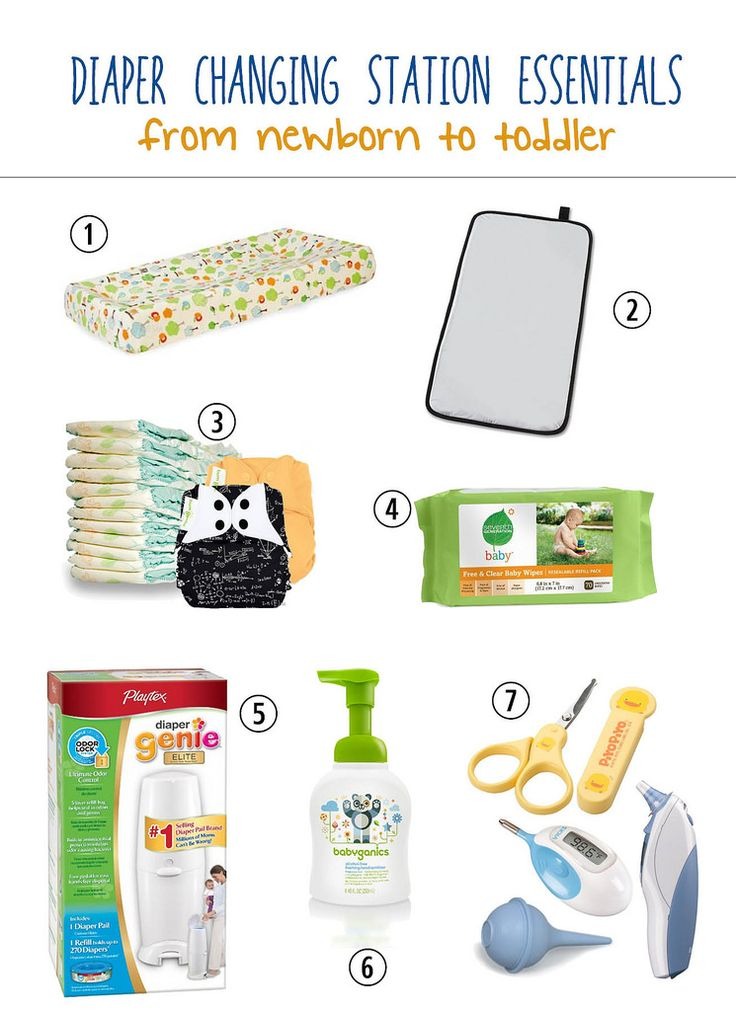
Start with what a full diaper change needs and a way to handle dirty clothes. Keep this kit within reach whatever else you carry.
| Item | Keep ready or add conditionally? | Why it belongs |
|---|---|---|
| Correctly sized diapers | Core | Lets you finish a change with what’s in the bag |
| Wipes | Core | Clean the diaper area and ordinary messes |
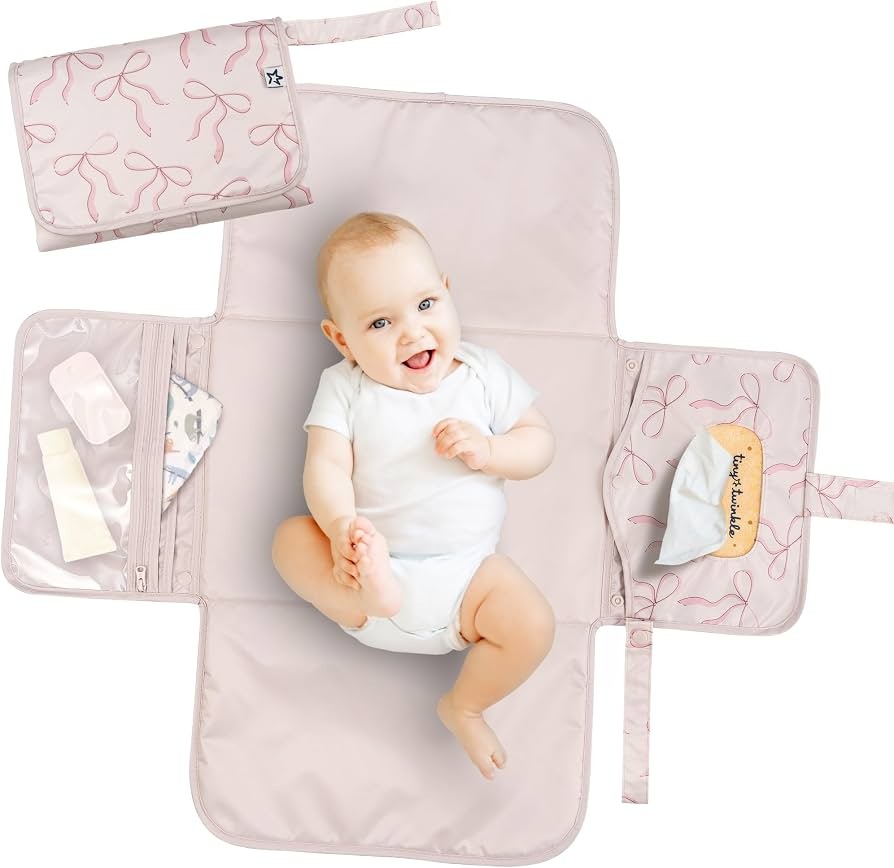
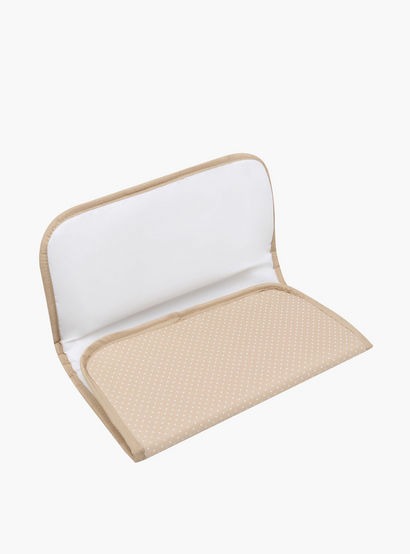
| Portable changing pad or cleanable surface | Core | Gives you a clean place to change the baby |
| Waterproof or sealable bag | Core | Keeps soiled clothes away from clean supplies |
| Clean spare baby outfit | Practical backup | Covers a leak or blowout |
| Diaper cream | If used | Part of your usual changing routine |
| Feeding equipment | According to feeding method | Covers feeds planned during the trip |
| Spare caregiver shirt | When useful | Covers a bigger mess |
| Hand sanitizer with at least 60% alcohol | If soap and water will be unavailable | Cleans your hands when there’s no sink |
Estimate how many changes your baby would normally need while you’re out, then add some for a delay or surprise. Carry more when replacements are hard to find.
Why a spare outfit deserves space
A short appointment can still end in a leak. A full spare outfit gets your baby into clean clothes without depending on what’s nearby.
Keep changing supplies clean and supervised
Keep dirty clothes apart from clean clothes and feeding supplies. A waterproof bag contains the mess until you can clean it; it does not sanitize anything inside.
Wash your hands and your baby’s hands after every diaper change. Soap and water is better, especially for visibly dirty hands. Sanitizer works for you when there’s no sink. Clean a contaminated changing surface, and keep a hand on your baby whenever they’re on an elevated surface. A portable pad doesn’t make an unstable spot safe.
The CDC’s April 2024 home diaper-changing guidance covers cleaning the changing surface and washing both caregiver and child hands.
The full procedure is in our guide to changing a diaper away from home.
Add feeding and comfort items your baby will use
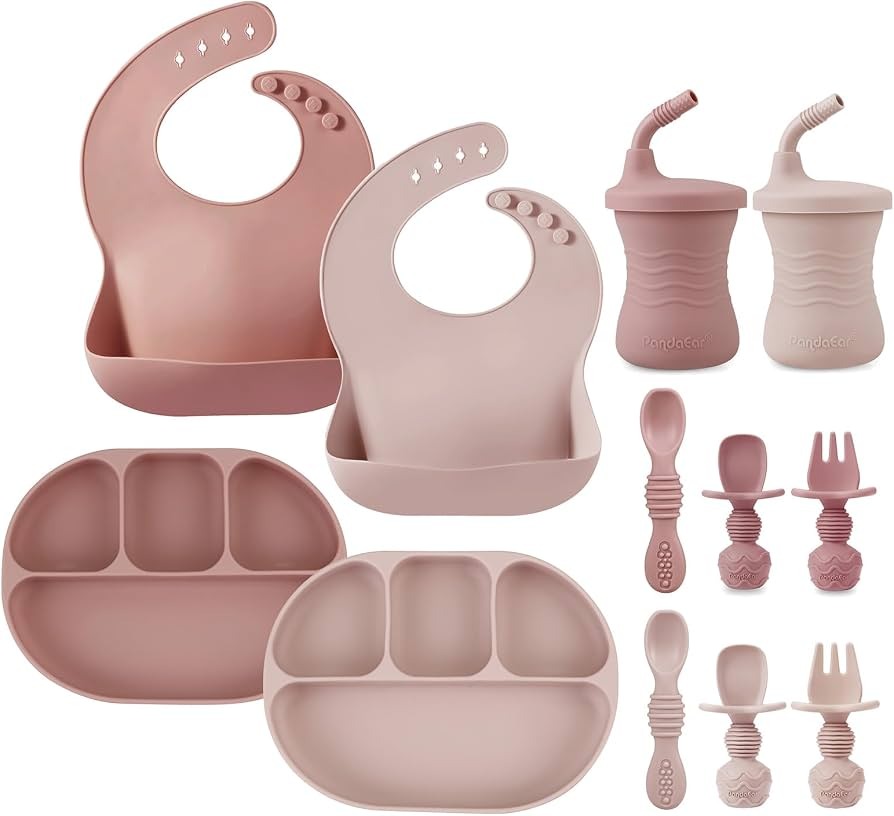
Feeding changes the bag more than anything else. A family that nurses directly needs a smaller feeding kit than a caregiver carrying bottles of expressed milk or prepared formula.
- Nursing directly: Bring what you’ll use, such as nursing pads. A bottle is usually unnecessary.
- Bottle feeding: Pack the bottles, nipples and equipment for the planned feeds. Safe handling of the contents has its own requirements, covered below.
- Eating solids: Pack food and feeding accessories for a baby who already eats solids.
- Comfort: Add a pacifier, burp cloth or small toy if your baby uses one.
You also need room for your water, snack, keys, phone and wallet. For outdoor outings, add the layer or weather gear your baby needs for the conditions.
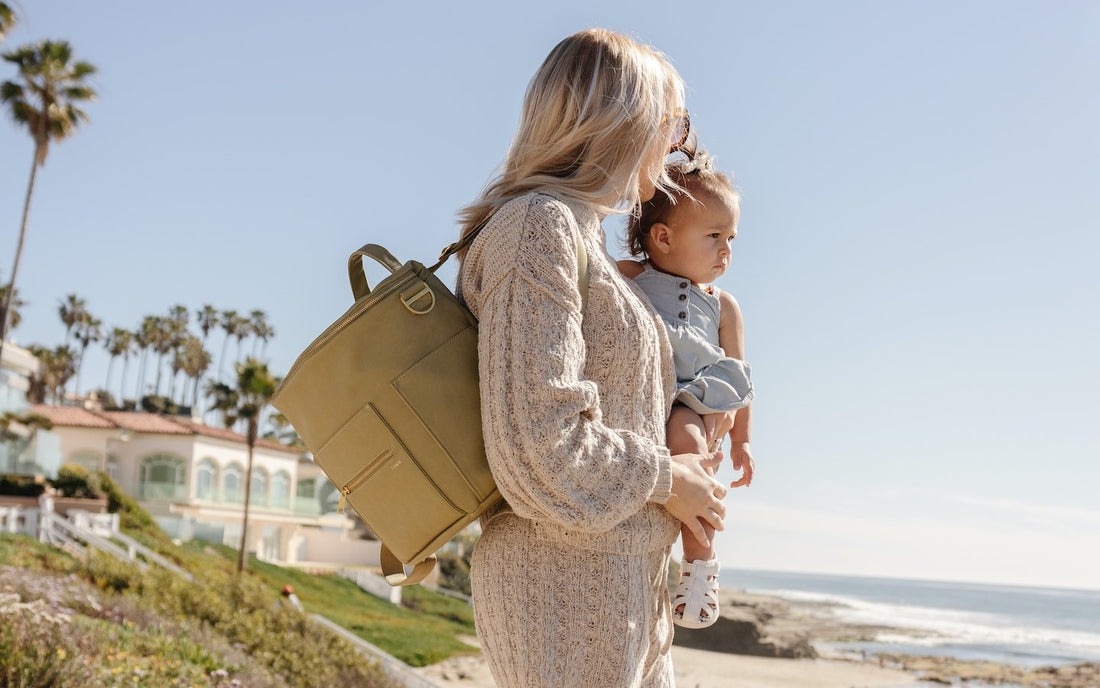
A baby who nurses while you’re out needs less travel feeding gear than one who gets a prepared bottle.
If your baby has an individualized feeding plan, include the supplies it requires.
Compare bag styles by how you carry them
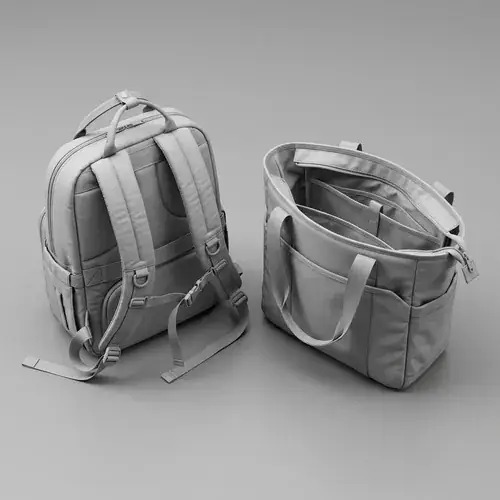
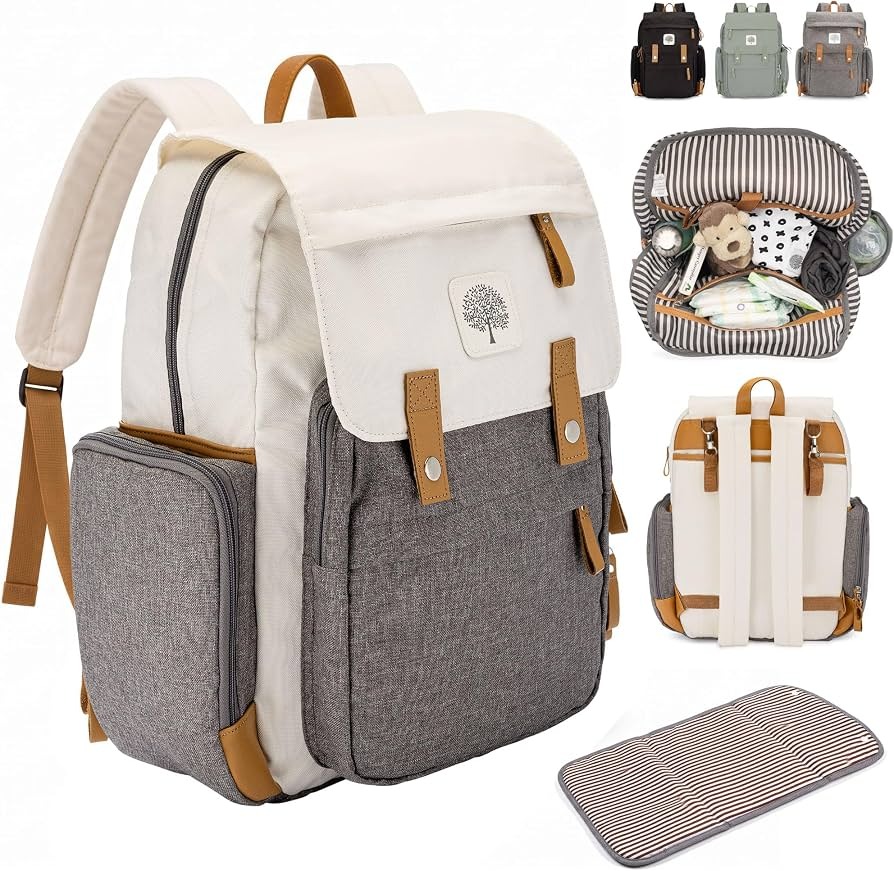
A dedicated diaper bag is one option among several. A regular backpack, tote or crossbody works if it holds the kit securely, can be cleaned and feels comfortable to carry.
| Bag type | Where it can work | Trade-off | What to assess |
|---|---|---|---|
| Diaper backpack | Walking, transit and hands-busy outings | You may need to take it off to reach items; layouts vary | Shoulder comfort, strap adjustment, opening and usable space |
| Tote with secure closure | Trips where a wide opening speeds retrieval | Weight on one shoulder; loose items | Carrying comfort, closure and pouch organization |
| Crossbody or messenger | Compact kits you want within easy reach | Little room; weight on one side | Strap comfort, capacity and access |
| Ordinary backpack or purse | Everyday outings when your own bag fits | Often no dedicated compartments or wipe-clean lining | Cleaning, closures and keeping dirty items separate |
Let a dedicated bag earn its features
An everyday bag with removable pouches organizes the kit perfectly well. Built-in compartments help when they match the items you grab most.
Test the bag with the real kit before buying
A bag that looks roomy on a shelf gets awkward once diapers, wipes, bottles, spare clothes and a sealed wet bag go in. Judge capacity by whether your actual belongings fit and you can still reach them.
A five-part fit and access test
- Lay out the load. Gather the diapers, wipes, changing pad, spare clothes and extras for your usual outing. Use the real bottles and pouches.
- Pack and close it. Check that the closure works easily, bottles sit securely and the wet-item container has a place.
- Carry it loaded. Adjust the straps and wear or hold the bag as you would with your baby. Notice pressure, balance and whether you can move freely.
- Rehearse a change. Find a diaper and wipes, take them out, put them back and close the bag without unpacking anything else.
- Decide. Keep the bag if everything fits and you can reach the kit. If it’s crowded, remove the extras. If essentials still don’t fit or the load hurts to carry, choose another size or style.
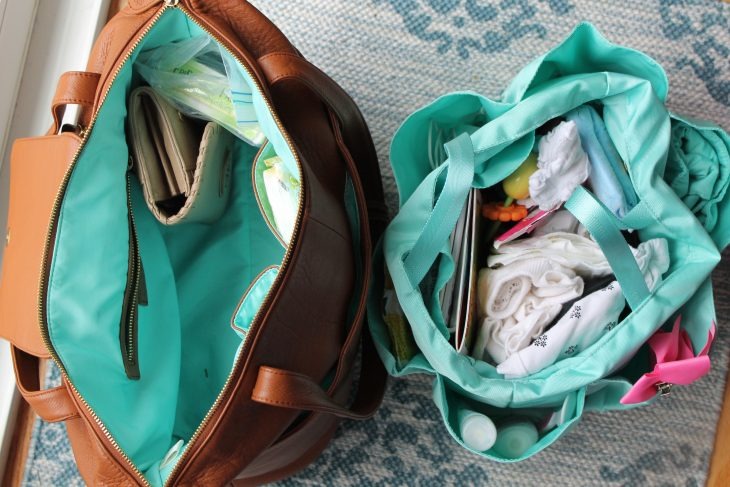
A dozen narrow pockets can hold plenty of small items yet make the whole kit awkward to retrieve. Some caregivers prefer a simple main compartment with removable pouches; others like predictable built-in pockets.
When you shop online, compare the listed opening, compartments, straps and cleaning materials with your packed kit.
Organize for fast changes and contained messes
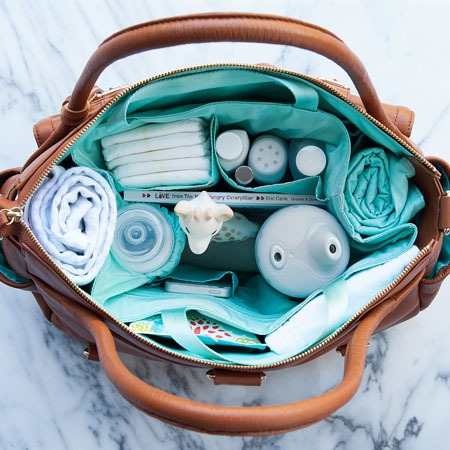
Keep the supplies you use most within reach and soiled clothes apart from clean items. Three zones cover most everyday outings.
- Quick-change zone: Diapers, wipes and the changing surface together, near an easy opening.
- Clean and feeding zone: Spare clothes, closed feeding containers and other clean supplies.
- Soiled-items zone: A clearly identifiable waterproof or sealable bag for dirty clothes until you get home.
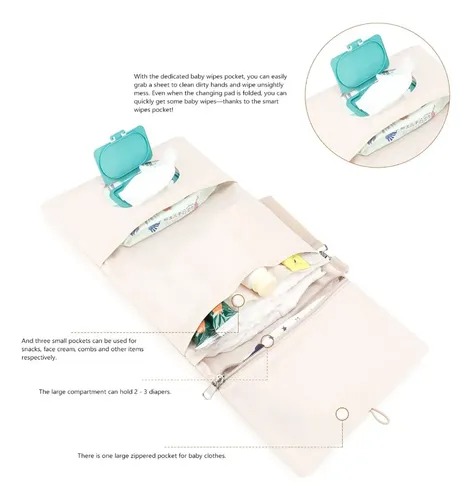
Removable pouches let you pull out a whole group of supplies at once. Fixed pockets keep everyday items in predictable spots. Close bottle lids securely before packing.
Assign the three zones, then ask another caregiver to find the wipes without directions. If they struggle, simplify the layout.
Keep prepared formula and expressed milk within storage rules
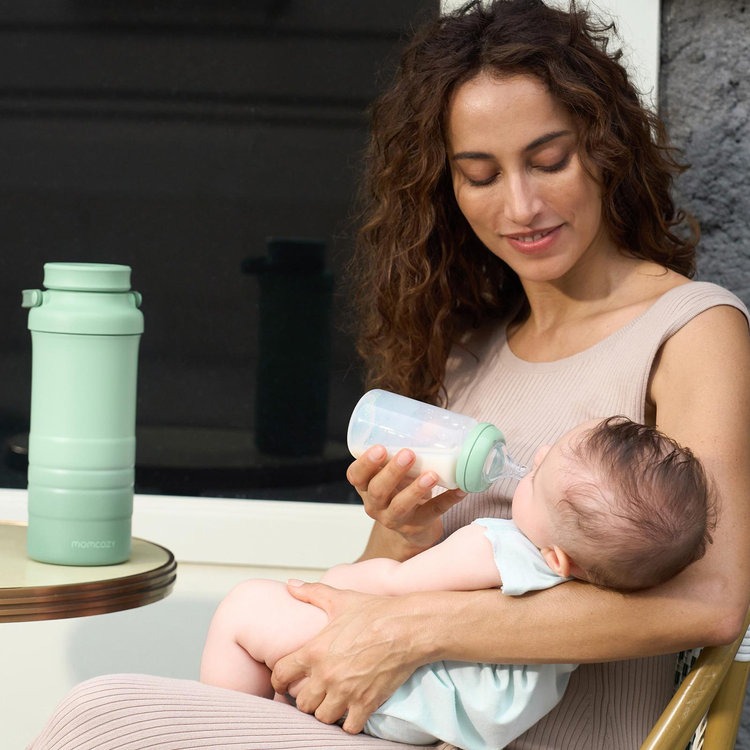
Milk storage depends on how the milk was prepared, how much time has passed and how it’s kept cool. A bottle pocket that fits a container doesn’t keep its contents at a safe temperature.
For prepared formula, the CDC’s formula preparation and storage guidance sets three limits:
- After preparation: Use prepared formula within two hours.
- After feeding begins: Use it within one hour from the start of that feeding, and discard any formula left in the bottle afterward.
- If it will not be used within two hours of preparation: Refrigerate the unused prepared formula immediately; use it within 24 hours.
Store unopened formula containers in a cool, dry place indoors. A parked car, garage or outdoor space is unsuitable for long-term storage.
For expressed breast milk, the CDC’s travel guidance for nursing mothers allows freshly expressed milk to be carried up to 24 hours in an insulated cooler with frozen ice packs. At the destination, use, refrigerate or freeze it according to the handling guidance.
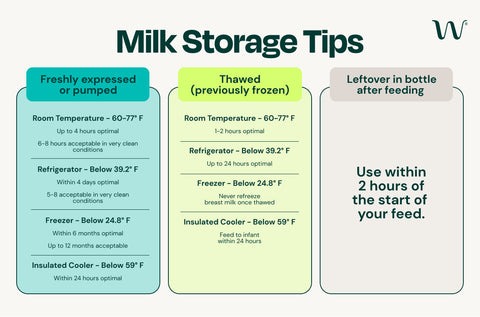
That 24-hour allowance covers only freshly expressed milk kept under those cooling conditions. Previously frozen or thawed milk follows its own handling rules.
Babies younger than two months, infants born prematurely and those with weakened immune systems may need additional formula-preparation precautions.
For detail, see safe infant formula preparation and storage and storing expressed breast milk.
Before leaving, check the container, how long ago the formula was prepared or the feed began, and how you’ll keep it cool. If you can’t meet the CDC conditions, change the feeding plan.
Carry the bag without destabilizing the stroller
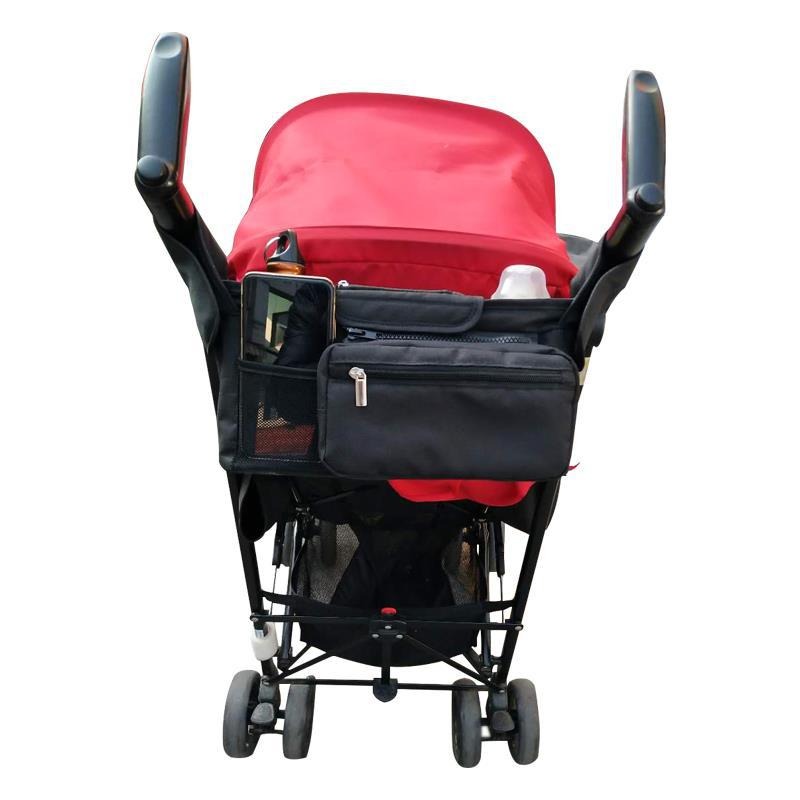
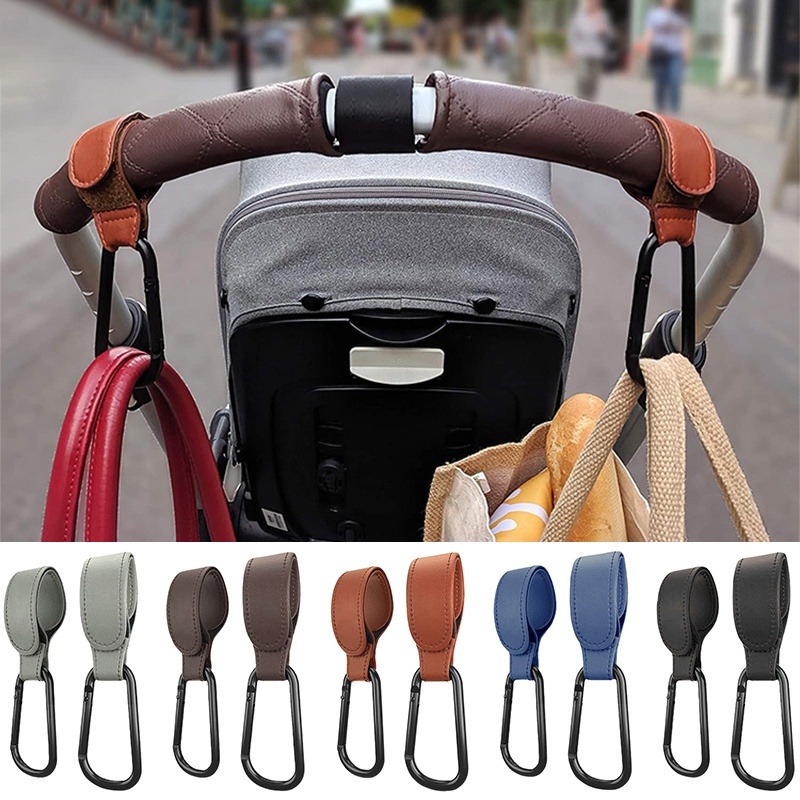
Do not hang a diaper bag from stroller handles: the American Academy of Pediatrics warns that hanging loads can tip a stroller backward. US stroller requirements under 16 CFR Part 1227 include ASTM F833 stability provisions, but they do not approve aftermarket hooks or added weight. Follow your stroller’s basket and load instructions: use the basket within its limit or carry the bag yourself. Basket design also matters, so check the stroller storage features when you shop.
Restock the bag after each outing, and resize it as needs change
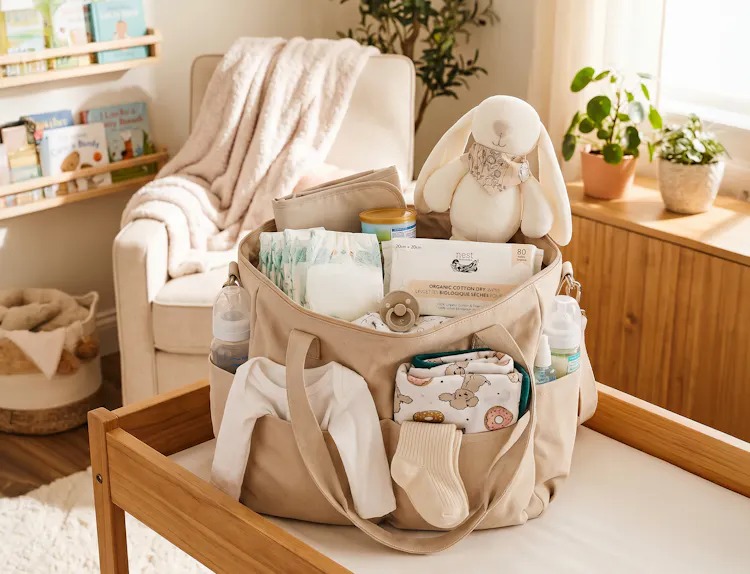
A bag can look ready while missing the diaper or wipes you used last trip. Reset it when you get home.
Remove soiled clothes and used supplies right away. Empty and clean contaminated pouches, replace what you used and let damp areas dry.
As your baby grows, swap out diapers and spare clothes that no longer fit. Review feeding accessories and comfort items when routines change, so unused extras don’t crowd the essentials.
A separate car backup can hold nonperishable supplies when storage conditions allow.