
Use a rear-facing car seat only when the installation and your child’s harness fit both meet the car-seat and vehicle manuals. The installed seat must move no more than 1 inch at the belt path, and your child must be positioned and buckled correctly. If either check fails or you can’t confirm it, fix it the way the manuals allow, or get help from a certified Child Passenger Safety Technician before you drive with that setup.
The two checks a car seat must pass before a ride
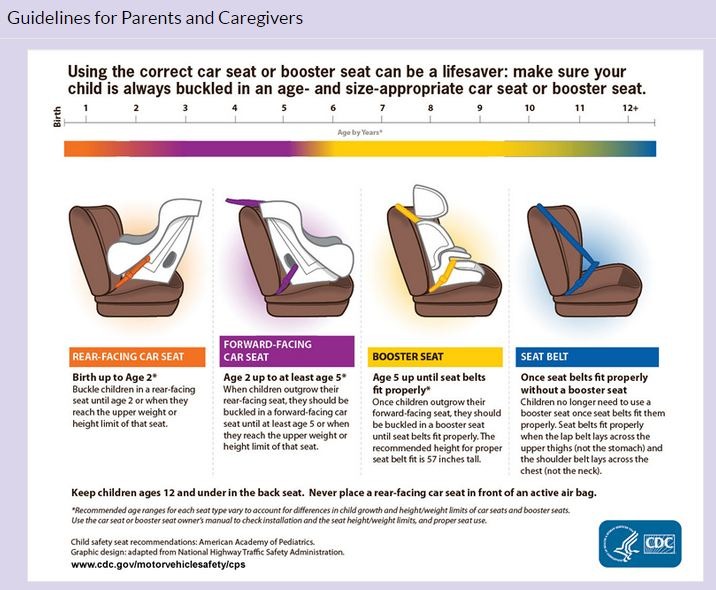
A car seat has two separate connections. One holds the seat in the vehicle. The other holds your child in the seat. A tight installation and a snug harness each need their own inspection.
- First pass, vehicle installation: The seat is allowed for your child and the rear seating position you chose, uses an approved attachment method, stays within the belt-path movement limit, and sits at the correct rear-facing recline. A detachable infant carrier must also lock into its base properly.
- Second pass, child harness: Your child sits correctly in the seat, the shoulder straps are flat and at the proper height, the harness is buckled and snug, and the chest clip is at armpit level.
An adult can tighten a car-seat base securely and still leave the child’s straps slack. Another can buckle the harness perfectly while the installation stays loose.
A parent described this after repeated trips with relatives who used the family’s seats:
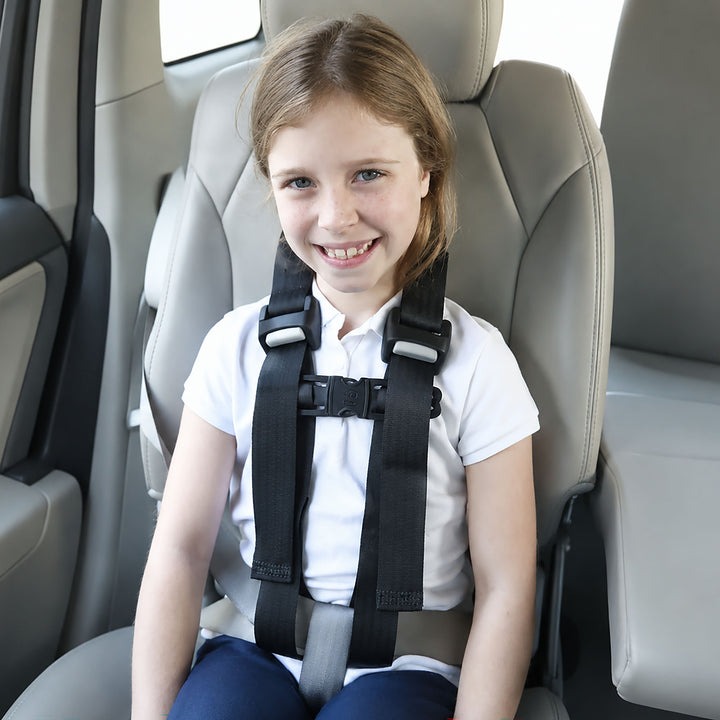
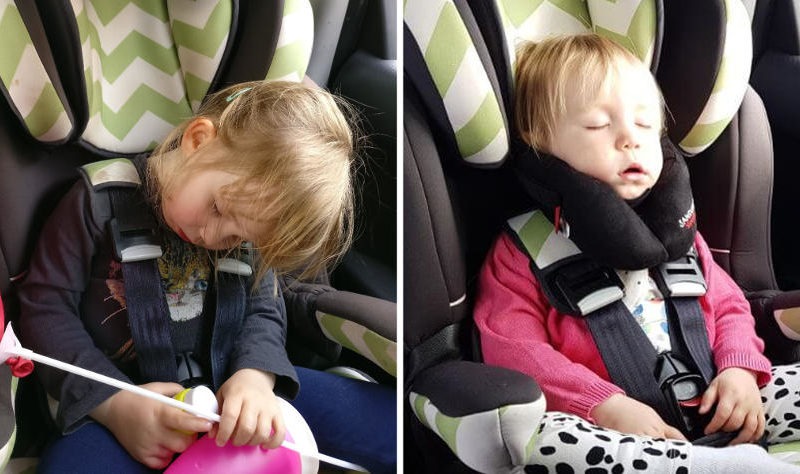
My in laws take my kids once a week for which I’m very grateful. However I’m worried they don’t understand why car seat safety is important. They drive on a major highway for 10 miles. I have explained to them many times that when they load the kids in the car seats, the straps need to be tight. I have re-installed the car seats after they were put in so loose that they were sliding around. Yet again today, I went to load my kids into the car and both sets of straps were as loose as they could physically be after they put them in. I tightened both sets, again explained that it is important that they be tight so in the event of a crash they aren’t sliding around.
You’ll record each check as PASS, ADJUST or STOP / CONSULT. The checklist at the end explains the three results.
Confirm your car seat, vehicle and rear seating position
A correct installation starts with a car seat that fits your child and an approved position in the vehicle. The car-seat manual and the vehicle owner’s manual govern this particular combination.
- Child and seat: Find the seat’s manufacturer and exact model, then compare your child’s current height and weight with its rear-facing limits. A child over a limit can’t use that seat or mode.
- Vehicle: Note the make, model and model year. Check which rear seating positions the vehicle manufacturer allows for child seats.
- Seat type: You’re installing either a detachable infant carrier with a base or a rear-facing convertible seat. The carrier adds a separate base-engagement step.
- Space and contact: Follow both manuals for front-seat clearance, allowed contact and any components that affect fit.
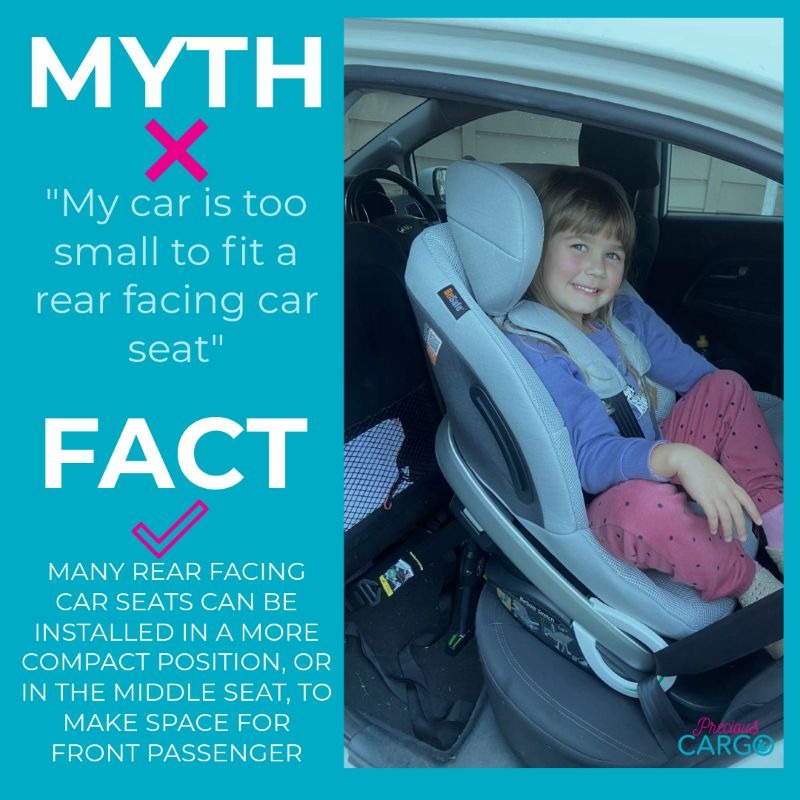
Rear-facing seats go in an allowed back-seat position, never in front of an active front passenger airbag. The center rear position works when you can install the seat correctly there. If the center doesn’t work for that seat and vehicle, a correctly installed seat in an allowed rear outboard position is a good alternative.
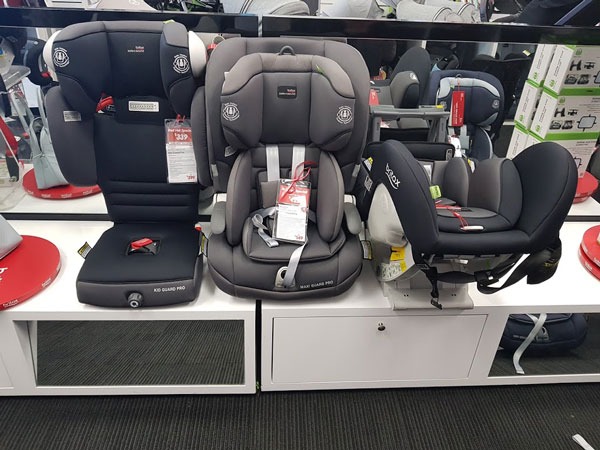
Parents comparing cars and car seats often find that the combination matters as much as the product name. One contributor asked other families to share their setups:
The goal is for new parents to figure out if a car seat fits well in their car, I know I struggled with it since car seats aren’t always returnable. Please write your car and car seat models, and a brief note on fit/whether you like it. I’ll start: 1.I have a britax poplar s convertible car seat in my Mazda 3 Sedan. Fits well without affecting front passenger. 2. Uppababy Aria infant seat in Volvo xc60. Fits well, average height baby is outgrowing it at 6 months. Super light but 2-handed operation not fun.
For sleep safety, car seat fit, and home hazards, see Baby Safety at Home and on the Go: What to Check First.
A used or transferred seat with an unknown history or recall status raises a separate eligibility question. The baby product recall guide covers how to look up a specific model.
Choose the approved installation method: seat belt or lower anchors
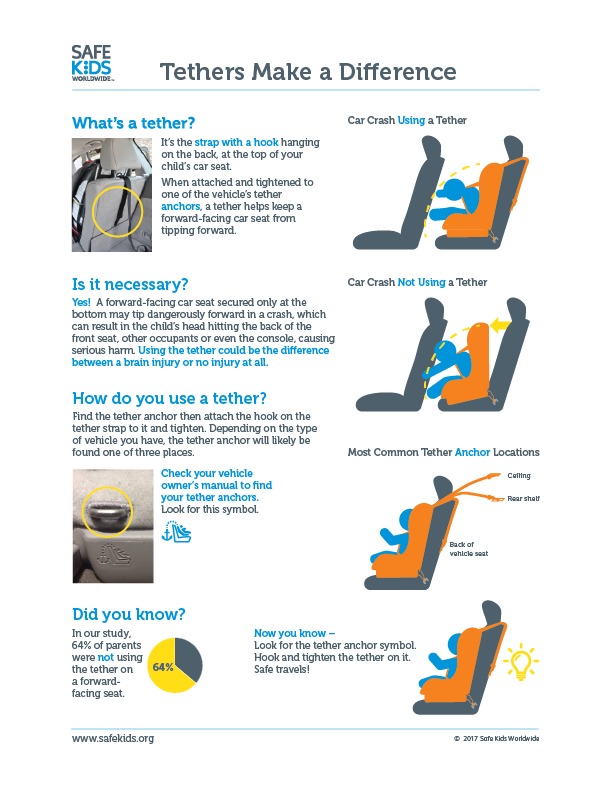
Attach the seat with the vehicle seat belt or the approved lower anchors, whichever method both manuals allow. LATCH means Lower Anchors and Tethers for Children; its lower anchors are attachment points built into eligible vehicle seating positions.
| Method | What must be confirmed | Permission or limit |
|---|---|---|
| Vehicle seat belt | Correct rear-facing belt path, buckle connection, and the required belt-locking method or approved lockoff | Authorized vehicle positions only, according to both manuals |
| LATCH lower anchors | Approved anchor locations, connector orientation, strap routing and tension | Follow the vehicle and seat lower-anchor restrictions and weight limits |
| Seat belt and lower anchors together | Explicit approval of the combined method | Only when both manufacturers authorize that exact combination |
Lower anchors are no automatic upgrade over the belt. Using both together counts only when both manuals authorize it.
For a seat-belt installation, run the belt through the marked rear-facing belt path, buckle it, and finish the locking and tightening steps in the instructions. Some setups use the vehicle belt’s locking mechanism; others use an approved lockoff on the seat.
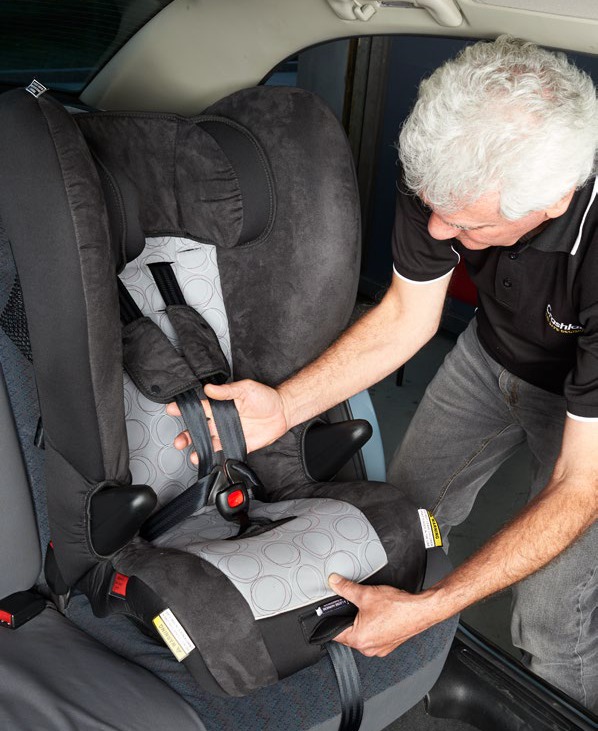
For lower anchors, find the designated anchors for your seating position, attach the approved connectors, and tighten the strap using the seat’s procedure. The center rear position may not have its own approved lower-anchor setup, even when anchors sit near the neighboring seats.
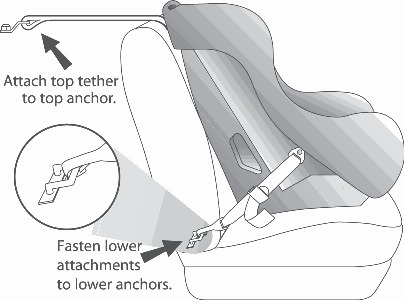
The top tether is a separate part, mainly relevant to forward-facing harnessed seats. It isn’t a third attachment method for this rear-facing checklist.
The NHTSA rear-facing installation instructions give separate sequences for seat-belt and lower-anchor installation. Follow the one that matches your method.
Check installation tightness at the belt path
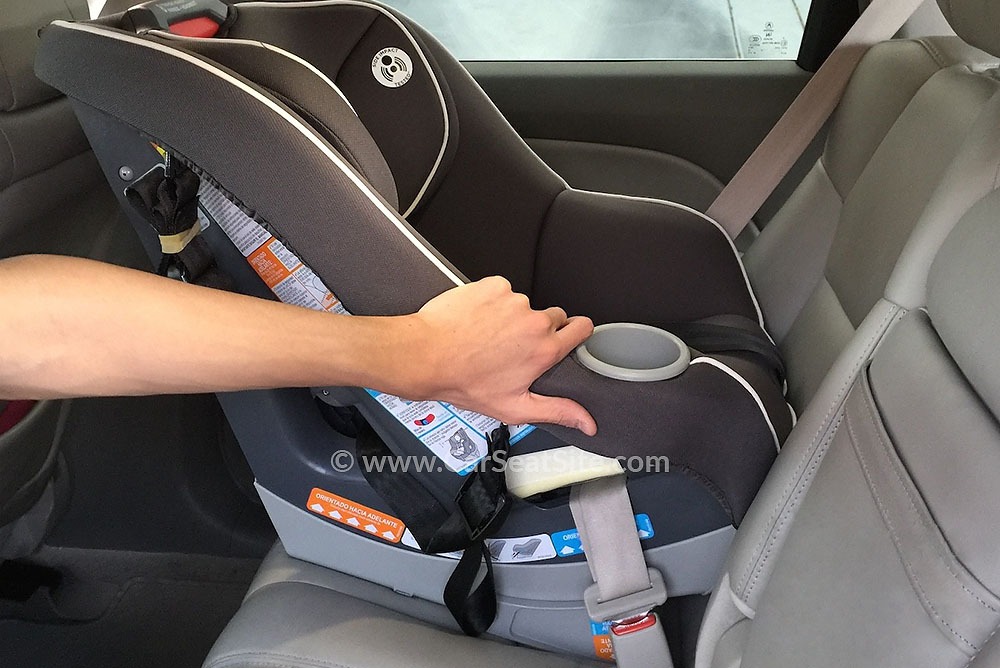
The installed seat must move no more than 1 inch side-to-side or front-to-back when you check at the belt path. That is the point where the vehicle belt or lower-anchor strap holds the seat.
- Find the belt path. Use the rear-facing location shown in the car-seat instructions.
- Hold the seat there. Pull side to side, then front to back.
- Measure the movement there. More than 1 inch in either direction means the installation fails.
Don’t test by pulling on the canopy, carrying handle or head end of the shell. The top can move while the seat is still secure at the belt path.
Verify the rear-facing angle and infant carrier connection
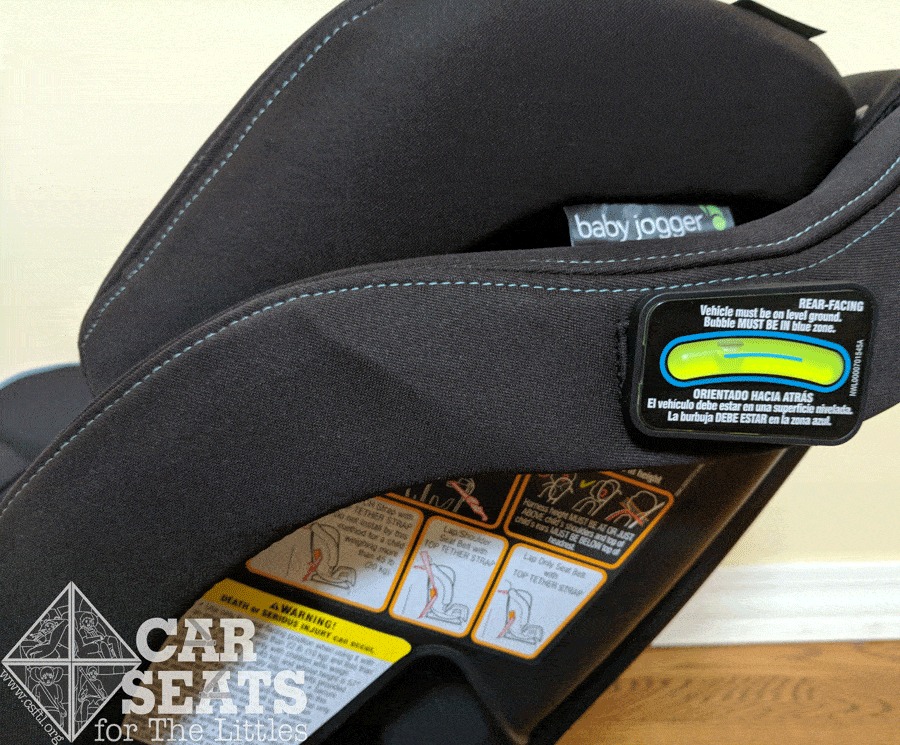
The rear-facing recline must match the setting allowed for your seat and child. A tight installation can still sit at the wrong angle.
Find the manufacturer’s angle indicator, level reference or built-in adjustment system and follow the instructions for your setup. The allowed setting can depend on the child’s age or size and on the seat design, and no single angle fits every rear-facing seat. For a closer look at infant carrier, convertible seat, and rear-facing use, read Infant versus Convertible Car Seat: Which Should You Buy First.
Stick to the adjustments and positioning materials the manufacturer allows. Homemade wedges, unapproved accessories and unauthorized belt manipulations are out.

A detachable infant carrier adds one more check. After you install the base, the carrier must lock fully into it the way the manufacturer specifies. Follow the model’s engagement and release-check steps, because an audible click alone doesn’t confirm the connection. Repeat the check every time you put the carrier back on the base, for example after a stroller trip.
Carry-handle position, load legs, anti-rebound bars and allowed contact with the vehicle seat vary by model.
Check the child’s harness and chest clip
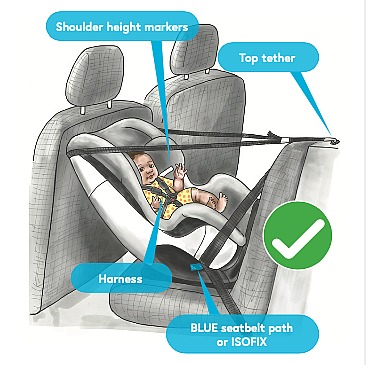
For rear-facing use, harness straps come from at or below your child’s shoulders, lie flat without twists, and fit snugly. The chest clip sits at armpit level.
Place your child’s back and bottom against the seat as the manufacturer directs, then route the harness around your child using the approved shoulder and buckle positions.
- Shoulder slots: Rear-facing straps come out at or below shoulder height. Forward-facing harnessed seats use straps at or above shoulder height.
- Strap routing: Shoulder and body straps lie flat, without twists, along the seat’s correct path.
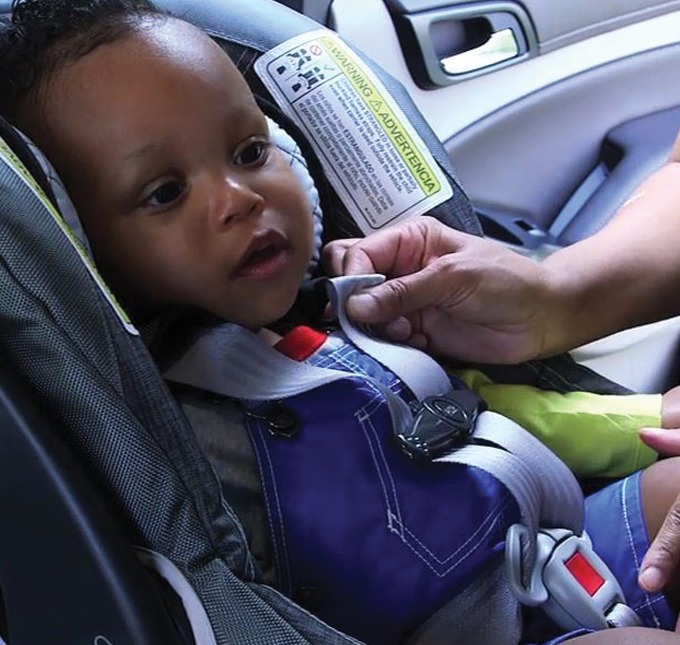
- Buckle and chest clip: Fasten the buckle and put the chest clip level with your child’s armpits.
- Snugness: Tighten the shoulder webbing as the manufacturer instructs. The harness passes the shoulder pinch check when you can’t pinch any excess webbing at the shoulder.
- Clothing: Keep bulky coats and thick layers out of the way of the harness fit against your child.
Use newborn inserts, alternative crotch-buckle positions and other adjustments only as the seat allows. Some premature infants and children with specialized positioning needs require individual guidance on the right seat and fit.
Troubleshoot a loose seat or failed installation check
When an installation fails, identify which requirement failed before you change anything. The fix depends on whether you have an incomplete installation of an allowed setup or a setup the manuals don’t allow.
| Failed requirement | What to investigate | Permitted response |
|---|---|---|
| More than 1 inch of movement at the belt path | Attachment routing, locking mechanism, connection and tightening steps | Redo the installation using the selected method’s procedure |
| Seat belt won’t stay secured as required | Vehicle belt-locking instructions and the seat’s approved lockoff | Use the documented locking method for that setup |
| Lower anchors unavailable or not approved for that position | Vehicle anchor locations, seat permissions and applicable limits | Use a belt installation or rear position the manuals explicitly allow |
| Recline outside the allowed setting | Manufacturer’s angle indicator and allowed recline adjustments | Correct the angle with an authorized adjustment |
| Detachable carrier doesn’t engage as required | Base and carrier connection, release-check instructions | Repeat the manufacturer’s attachment procedure |
| Harness position or snugness fails | Child position, shoulder height, routing, buckle and tension | Use the seat’s allowed child-fit adjustments |

If an allowed method can’t be completed correctly in the chosen position, the manuals may allow a different method or a different rear seating position.
Skip unsupported belt twisting, added hardware, improvised padding and modifications to the seat.
When to stop: If the manuals don’t allow the arrangement, or the installation still can’t meet a requirement, the result is STOP / CONSULT. Don’t travel with that setup.
Make the installation repeatable when the vehicle or caregiver changes

Moving the seat to another vehicle, changing its rear seating position or switching attachment methods creates a new installation to verify. Keep a short record of the exact seat, vehicle, approved method and relevant manual instructions, so another adult knows which setup was checked and when to repeat the vehicle and harness inspections.
Get help from a certified car-seat technician
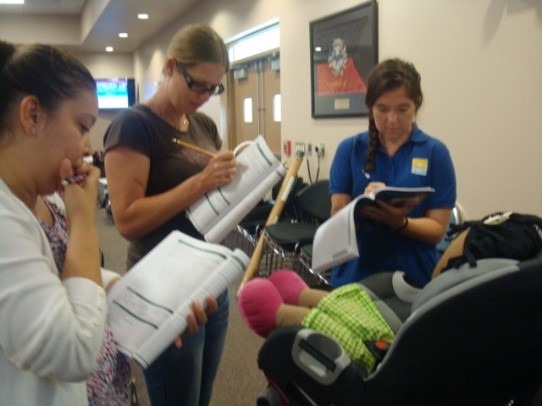
A certified Child Passenger Safety Technician (CPST) can help when the seat stays loose, you’re unsure which seating position is allowed, or you can’t confirm an installation or harness requirement.
An appointment gives you hands-on instruction with your actual seat and vehicle. The technician explains each step while you learn to perform and check it yourself.
The Safe Kids car-seat check directory lists ways to find certified technicians and inspection events.
For an appointment, bring:
- Equipment: The car seat and the vehicle it will go in.
- Instructions: The car-seat manual and the vehicle owner’s manual.
- Child information: Your child’s current height and weight. Bring your child if you can, for a harness demonstration.
- Other drivers: Another adult who routinely installs or moves the seat, if possible.

Some fire and police departments run inspection programs, but certification, appointments and services depend on location. Ask for a verified CPST referral instead of assuming a nearby station offers certified walk-in checks.
Before you leave, make sure you understand the installation method, the checks that apply to your setup, and how to spot a failed requirement after you reinstall.
Keep a PASS / ADJUST / STOP checklist for the next drive
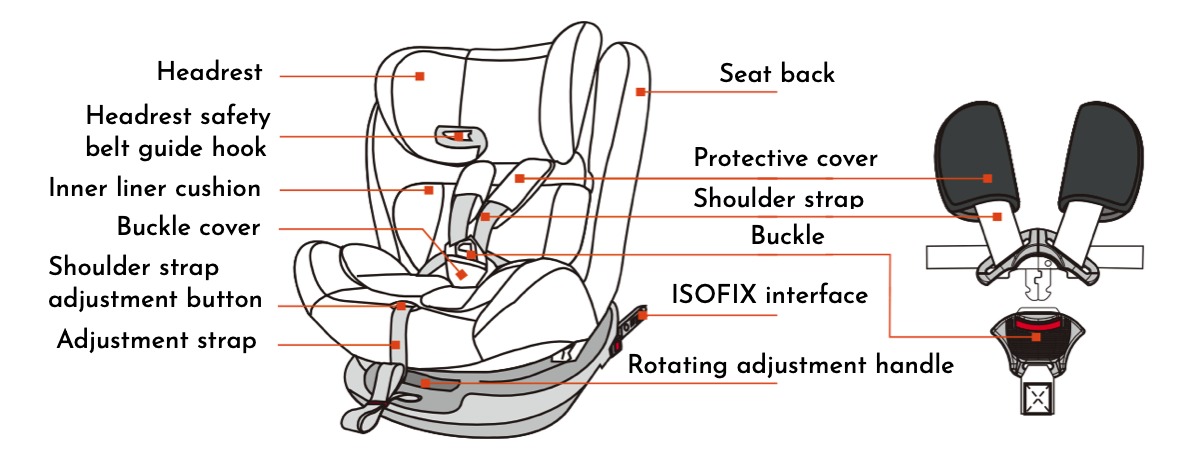
A compact record separates completed checks from open ones. Identify the seat and vehicle first, then record the vehicle-installation pass and the child-harness pass separately.
Mark a check PASS when you’ve confirmed it. Mark it ADJUST when a manufacturer-permitted correction is needed; make the correction and repeat that check before you drive. Mark it STOP / CONSULT when the child or seat is incompatible with the setup, the arrangement isn’t allowed, or you can’t verify a requirement. For the overall result, any STOP / CONSULT wins; otherwise, any open ADJUST makes the overall result ADJUST. Overall PASS requires every applicable check to pass.
| Section | Item to record | Result or details |
|---|---|---|
| Identification | Car-seat manufacturer and model | __________________ |
| Identification | Vehicle make, model and year; rear seating position | __________________ |
| Eligibility | Child within rear-facing seat height/weight limits and approved mode | PASS / STOP |
| Vehicle | Approved seating position and attachment method | PASS / ADJUST / STOP |
| Vehicle | Belt-path movement within the permitted limit | PASS / ADJUST / STOP |
| Vehicle | Rear-facing recline within manufacturer’s approved setting | PASS / ADJUST / STOP |
| Vehicle | Detachable infant carrier engaged correctly with base | PASS / ADJUST / STOP / N/A |
| Child | Child positioned correctly; harness routing and shoulder height | PASS / ADJUST / STOP |
| Child | Harness snugness, buckle and chest clip | PASS / ADJUST / STOP |
| Decision | Overall result for this configuration | PASS / ADJUST / STOP |
| Record | Checked date; open item or relevant manual note | __________________ |
The recline row always needs a result for a rear-facing installation. Use N/A only on the carrier/base engagement row, when the seat has no detachable carrier-to-base connection. If the child exceeds the seat’s rear-facing limits, the current setup gets STOP until you choose an appropriate seat or permitted mode.

An installation with unclear center lower-anchor permission stays at STOP / CONSULT until you establish a permitted method or position. The record reflects that exact setup and can’t certify an installation in a different vehicle.
This checklist is written for US caregivers using a rear-facing infant or convertible car seat. When sorting out car seat fit, rear-facing limits, and vehicle installation, consult How to Choose a Baby Car Seat That Fits Your Newborn and Your Car.